How To Install Pedal Commander®

Find the Pedal Commander® Installation Video
To find the correct installation video for your vehicle, use the dropdown menu to select your make, model, year, and engine. Once selected, you’ll get the specific installation guide tailored to your vehicle.
The PC number is located underneath your Pedal Commander® unit or on the side of the packaging. Remove the unit from the bracket to see the number.
Installation Video for Pedal Commander® ##PC##
Pedal Commander® Detailed Installation Guide
Let’s go into detail on how to install the Pedal Commander® throttle response controller.
Warning
Before starting, ensure your vehicle is turned off and the key is removed from the ignition.
- Turn the ignition off.
- Leave the driver’s door open and wait 10-15 minutes. This will allow the ECU to shut down completely.
- Keep your keyfob at least 35 feet away from the vehicle. Some vehicles have a proximity sensor that gets triggered if the keyfob is close by. Keeping it away from the vehicle prevents the ECU from waking back up.
- If the above process fails, you can disconnect the battery to ensure the system shuts off entirely.
Note: Allowing the system to shut off completely is important to avoid triggering the Check Engine Light.
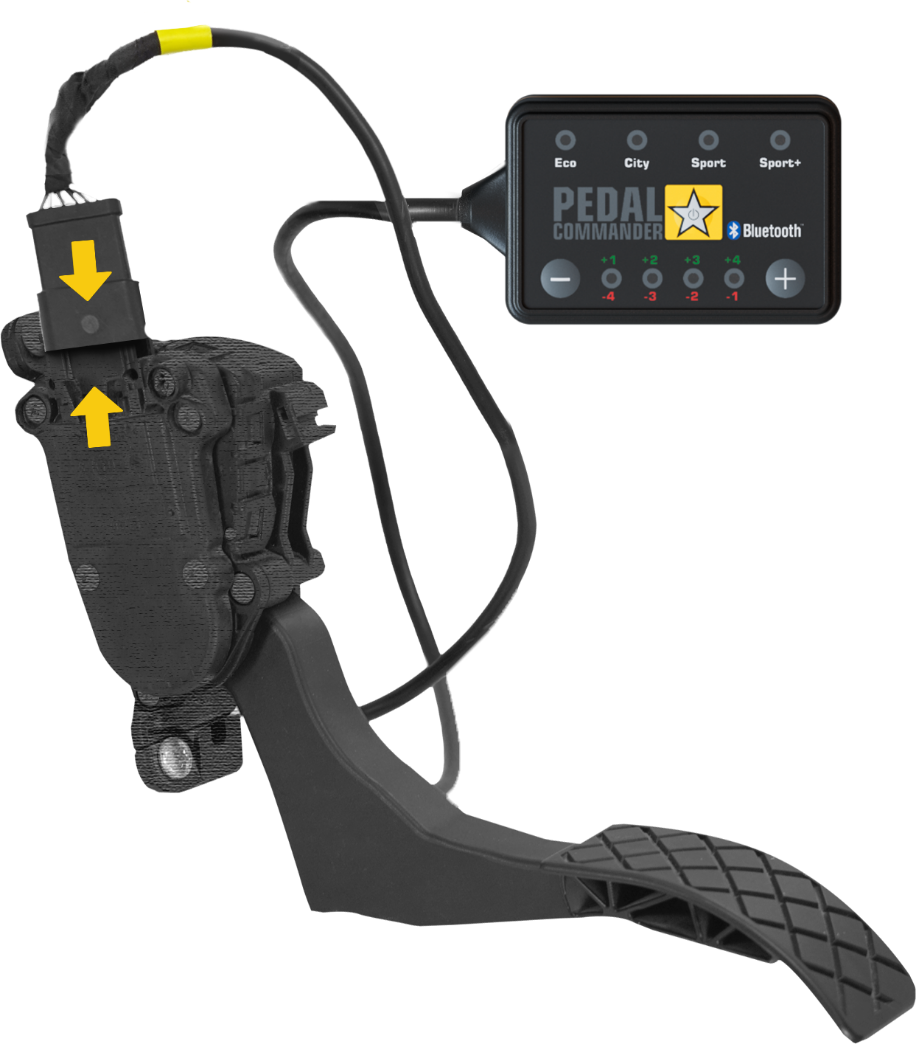
- Locate the throttle pedal connector in your vehicle. Some connectors are at the top of the assembly, facing the dashboard, and some face the driver.
- There are several types of connectors, and some of them may have locking tabs. You can use a pick tool or a small flathead screwdriver to slide out the factory connector.
- Connect the female connector of the Pedal Commander® harness to the male plug at the throttle pedal side.
- Connect the male connector of the Pedal Commander® harness to the female socket of the pedal assembly.
- Ensure you hear the “click” sound each time for a secure connection.
- Reinstall the locking tabs if your throttle pedal connectors have them.
- Route the cables and secure them to prevent tangling. Securing the cables is crucial for driving safety.
- Clean the area where you want to place the Pedal Commander® control unit with the supplied alcohol wipe.
- Mount the Pedal Commander® bracket with supplied Mounting Adhesive.
- Mount the Pedal Commander® controller unit.
- Reconnect the battery if you disconnected it in Step One.
- Download the free Pedal Commander® app from your app store and pair your unit via Bluetooth.
- Activate the anti-theft mode and try it for FREE for the first 14 days!
- Enjoy a whole new driving experience!
Important Note
You must follow these instructions properly to avoid receiving a check engine light or other issues. Also, ensure you hear a “click” sound when connecting the plugs, as this signifies a secure connection.
Check our troubleshooting page for quick fixes and tips if you run into any issues. You can also contact us for further support.


